Orin AGX + jumpstarter
This is a graphical guide describing how to connect an NVIDIA Orin AGX Devkit to the dutlink-board.
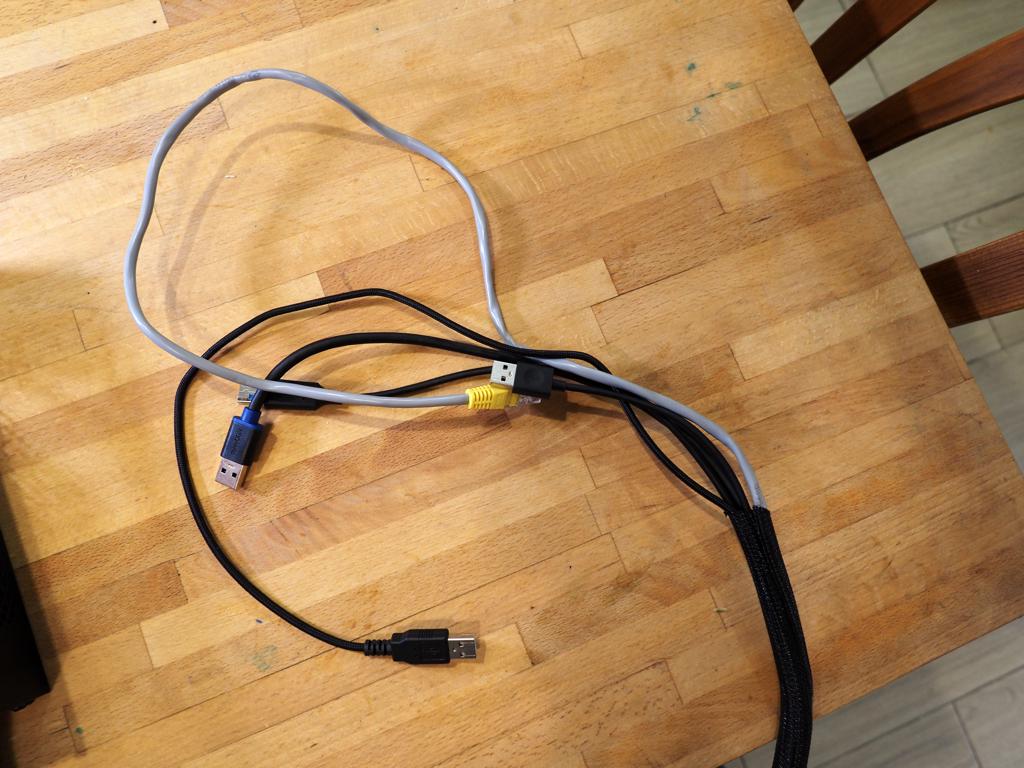
This setup will use 4 USB connections to your host:
- Jumpstarter control
- Jumpstarter USB3 storage
- NVIDIA TOPO USB Controller
- NVIDIA Flashing USB port
Wiring table
| Name | AGX Connector | Jumpstarter Connector | Host connector | Comments |
|---|---|---|---|---|
| GND | (J42) pin 1 | (I/O) GND | Connecting signal ground | |
| /FORCE_REC | (J42) pin 2 | (I/O) CTL_A | Force recovery mode signal (active low) | |
| /POWER | (J42) pin 3 | (I/O) CTL_B | Power down [>10s], Power up [short] (active low) | |
| /RESET | (J42) pin 4 | (I/O) RESET | Reset signal (active low) | |
| AUTO-POWER | J42 / pin 5 to 6 jumper | Auto power-on jumper must remain connected | ||
| RCM | (10) USB-C connector | USB | NVIDIA Flashing interface for RCM | |
| TOPO Console | (9) USB Micro B conn | USB | NVIDIA TOPO interface (consoles and boardctl) | |
| DUT-STORAGE | (12) USB 3.2 Gen1 | J8 | USB storage attachment to DUT | |
| DUT-POWER | (4) Power USB-C | J5 | Power output for the DUT | |
| ETHERNET | (6) Ethernet | Connect to a network where the host is also connected | ||
| JUMPSTARTER | P1 USB-C | USB | Jumpstarter control USB bus, used by the jumpstarter software to talk to the dutlink-board | |
| HOST-STORAGE | J7 USB-B 3.0 | USB | Host access to USB storage, used to write the USB disk | |
| DISK | J9 USB-A 3.0 | Connect a pen-drive or disk here. USB3.1 Gen1 (5Gbps recommended, Gen2 10Gbps don't work well yet) | ||
| POWER-4-DUT | J1 USB-C PD | Connect the Orin AGX Devkit power adapter here |
Troubleshooting
My console doesn’t show anything
See the Console access section and associate the TOPO USB console to your board.
My DUT doesn’t power on
- Check that the AUTO-POWER jumper is connected.
- See Know issues and limitations you may need to flip the USB-C cable going to the AGX board or the power adapter USB-C.
My console shows garbage during boot
There is a known issue with the TOPO USB console, where it will show garbage after power-on, then it recovers. To avoid this issue, we recommend using jumpstarter firmware > 0.06 and configuring the power sequencing as described in Power sequencing.
The system won’t boot from the USB disk
You need to go into the UEFI BIOS and change the boot order to setup “new devices” as the first boot option. Make sure that the USB devices is found.
Make sure that you are not using a USB3.1 Gen2 device (10Gbps), as this is not supported yet.
Power sequencing
The Orin AGX Devkit has an automation header that can be used to control the power and reset of the board. The dutlink board can be used to control the power and reset of the Orin AGX Devkit in addition to the analog power control.
This is useful to workaround the isue described in My console shows garbage during boot, since the NVIDIA TOPO USB controller has a bug that will corrupt the console during first boot after power-on on some usb hosts. With this feature we can avoid power cycling the topo chip but still controll power-on/off of the board.
The recommended setting is:
jumpstarter set-config device-id power_on p1,bL,w5,bZ
jumpstarter set-config device-id power_off p1,bL,w5,bZ,w10,bL,w110,bZ
jumpstarter set-config device-id power_rescue p1,bL,w1,bZ,w1,aL,rL,w1,rZ,w1,aZ
See the Power sequencing configuration details.
Console access
The Orin AGX Devkit only exposes the UEFI and kernel serial console via the micro USB port (also known as the NVIDIA TOPO USB controller).
Please see The Orin AGX Devkit layout for more details.
To let jumpstarter know that it must look up for a specific usb serial port device when trying to interact with the DUT console you will need to associate the NVIDIA TOPO USB Console to your dutlink board using the usb-set-console command.
i.e. when the Orin AGX TOPO console shows up like this on the host:
[300810.229025] usb 1-1.3.1: new full-speed USB device number 27 using xhci_hcd
[300810.332797] usb 1-1.3.1: New USB device found, idVendor=0955, idProduct=7045, bcdDevice= 0.01
[300810.332799] usb 1-1.3.1: New USB device strings: Mfr=1, Product=2, SerialNumber=3
[300810.332800] usb 1-1.3.1: Product: Tegra On-Platform Operator
[300810.332801] usb 1-1.3.1: Manufacturer: NVIDIA
[300810.332801] usb 1-1.3.1: SerialNumber: TOPOD83B461B
You should associate it to the dutlink board using the following command:
$ jumpstarter set-usb-console orin-agx-00 TOPOD83B461B-if01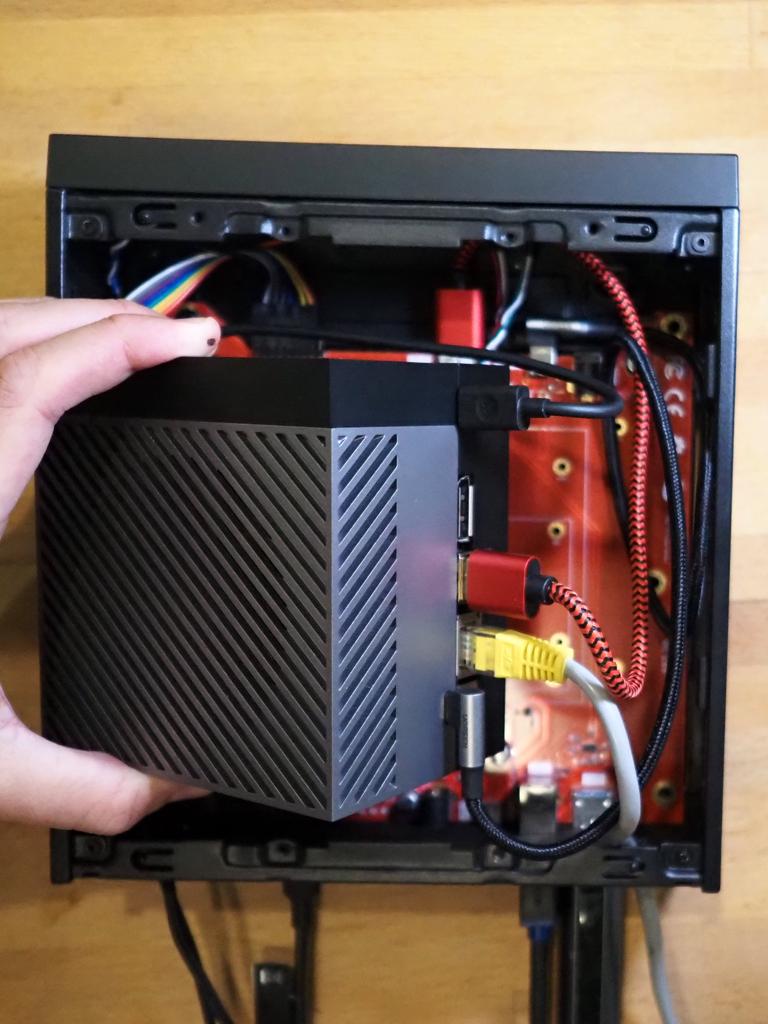
Ethernet from the Orin AGX Devkit is connected to the a switch where the host running jumpstarter has connectivity.
One USB is connected to the jumpstarter DUT storage connector (J8)
The Power USB-C connection is connected to J5 on the jumpstarter.
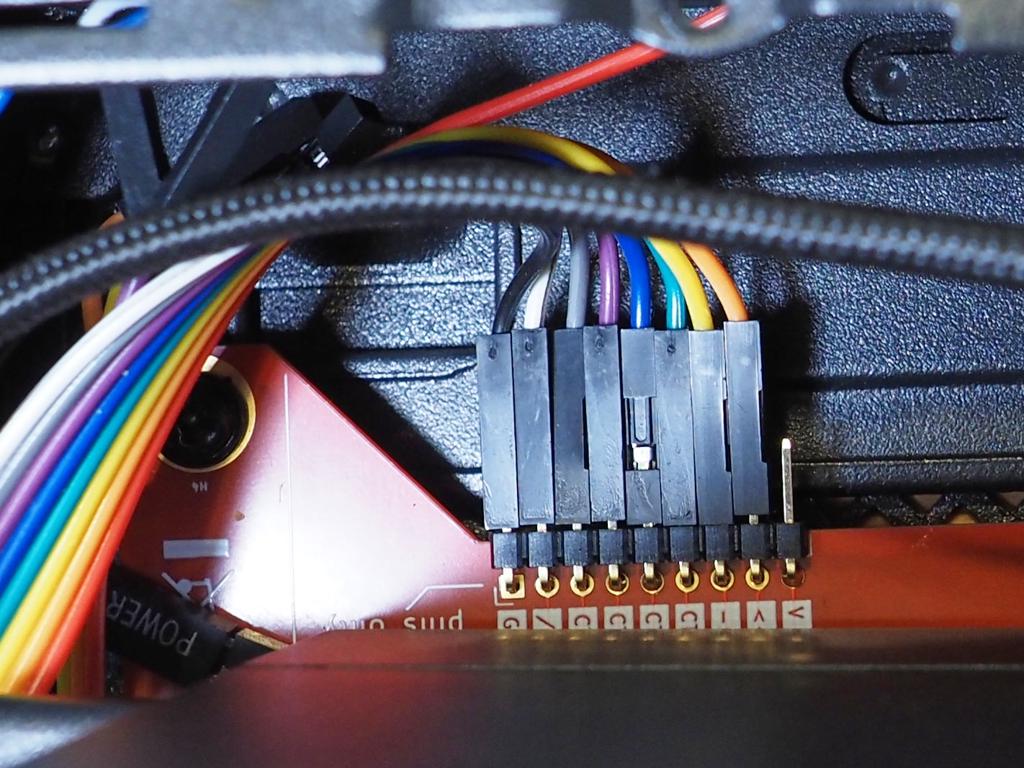
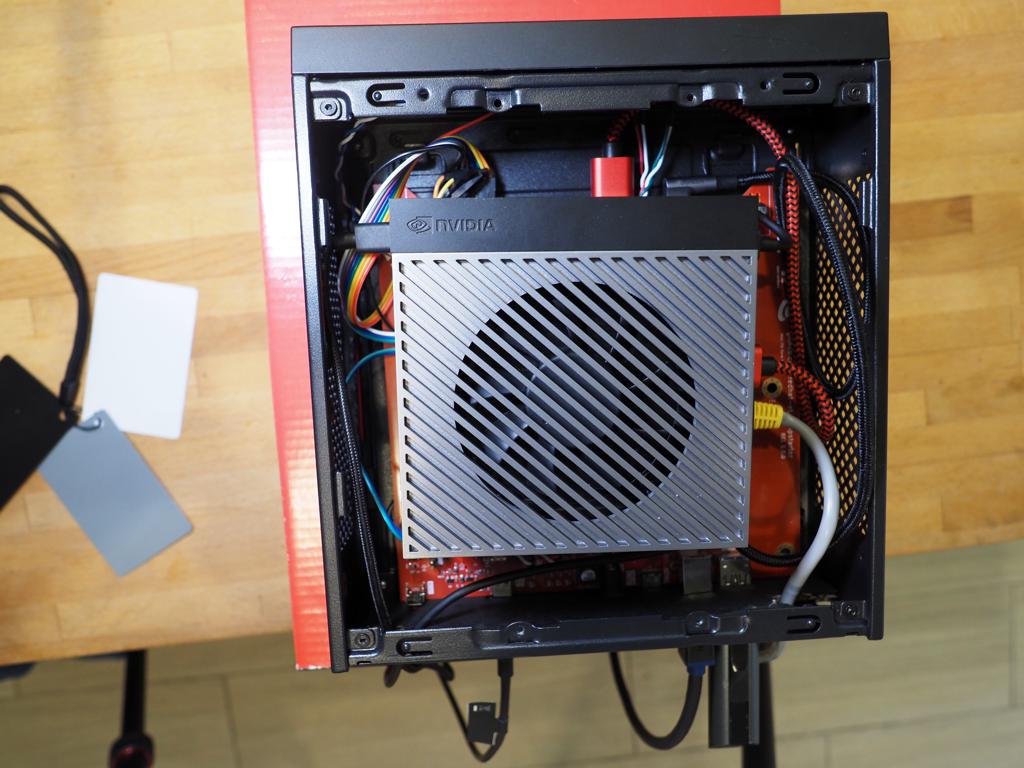
In this picture we connected additional cables but we are only using GND(black), /RESET(white), CTL_A(green) and CTL_B(blue)

Pins 1,2,3,4 of the Orin AGX devkit Automation Header J42
Must be connected to pins GND, CTL_A, CTL_B and /RESET of the dutlink board I/O connector.
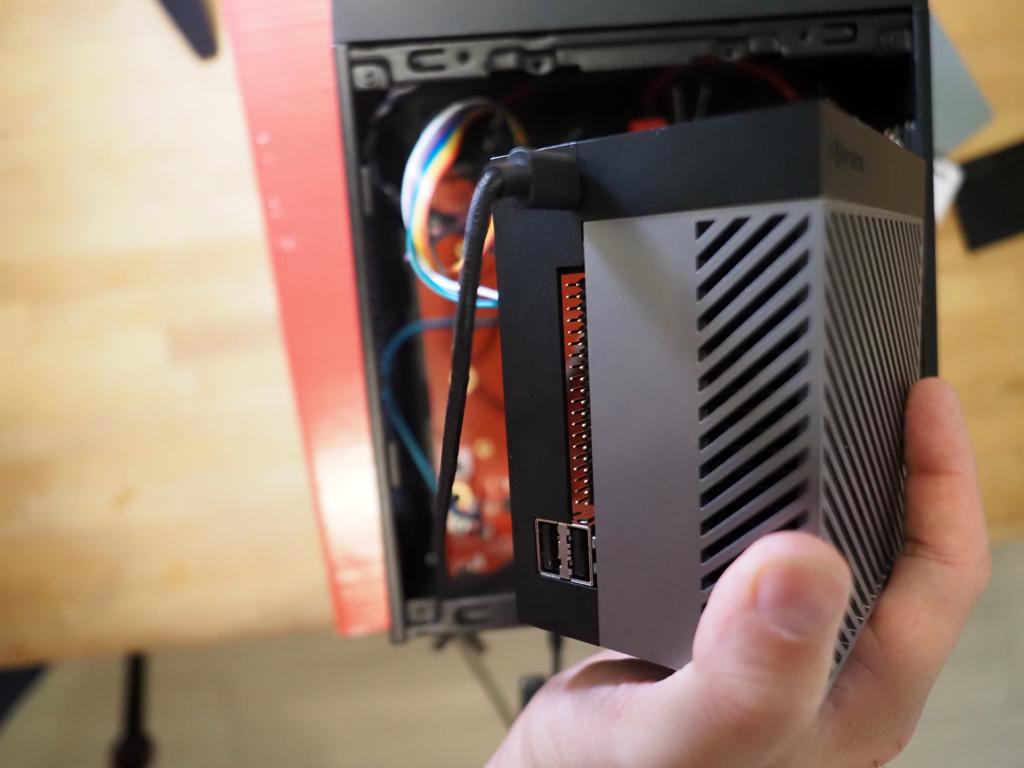
This USBC connection is used for flashing, and must be connected to the host via USB.
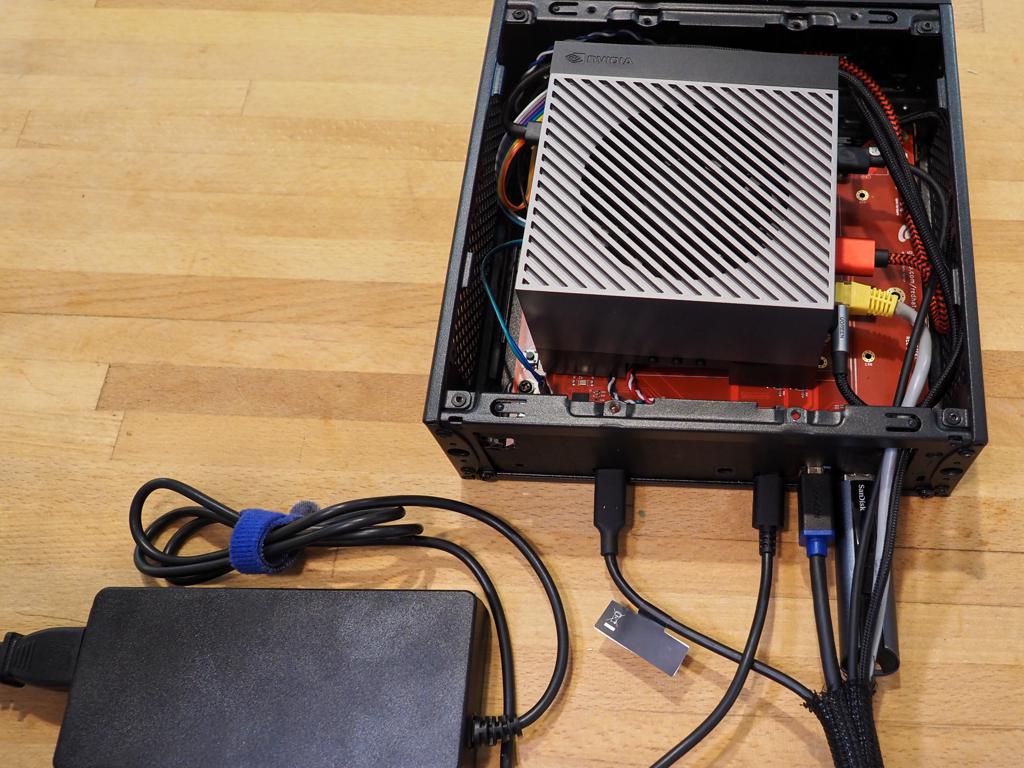
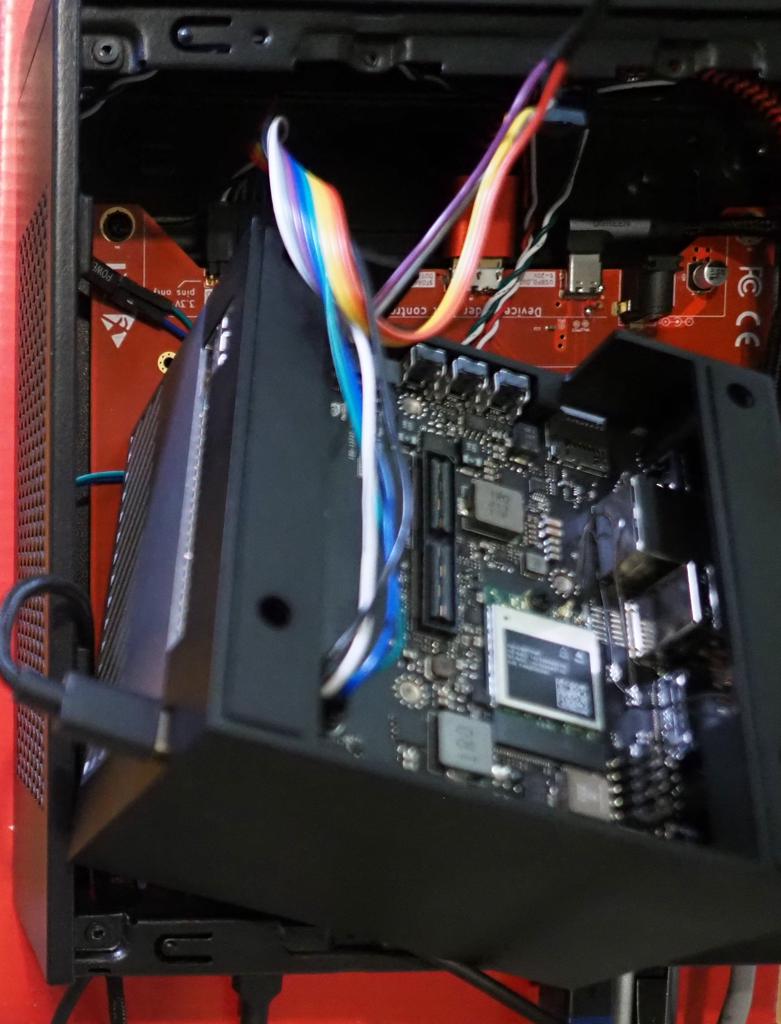
Jumpstarter needs to be connected to the host via J7 and P1. And the Orin power adapter must be connected to J2.